
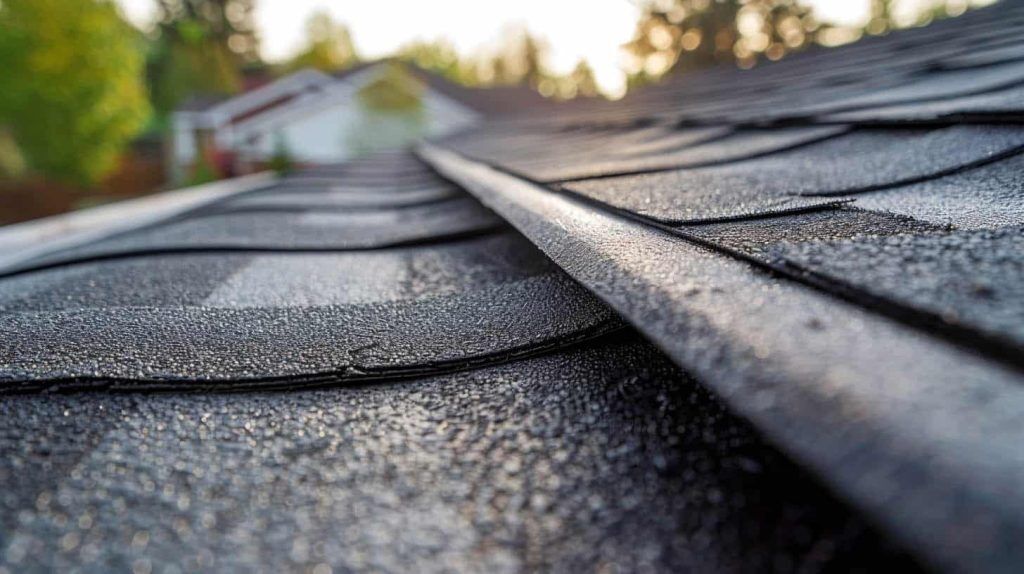
Asphalt roll roofing installation offers a practical and cost-effective solution for protecting buildings with low-slope or flat roofs. This comprehensive guide outlines the steps and considerations necessary to achieve a successful installation, ensuring your property remains well-protected against the elements.
Essential Preparations Before Installation
Assessing Roof Condition
Begin with a thorough inspection of the existing roof. Identify and rectify any structural damages, such as rot or moisture penetration, to ensure a solid foundation for the new roofing material.
Cleaning the Roof Surface
A clean surface is crucial for the effective adhesion of asphalt roll roofing. Remove all debris, dust, and old roofing materials. This step is vital for preventing future issues and ensuring a smooth installation process.
Applying Roofing Felt
Roofing felt acts as an additional barrier against moisture, enhancing the overall durability and effectiveness of the asphalt roll roofing. Lay the felt in overlapping strips to cover the entire roof surface, securing it in place with appropriate fasteners.
Installation Process
Cutting the Asphalt Roll to Size
Measure the roof area accurately and cut the asphalt roll material accordingly. Allow for a slight overhang at the edges to ensure comprehensive coverage and protection.
Applying the Adhesive
Use a high-quality roofing adhesive to secure the asphalt roll to the roof surface. Spread the adhesive evenly, paying special attention to the edges and seams to prevent water infiltration.
Laying the Asphalt Roll
Start at the bottom edge of the roof and roll out the asphalt material, ensuring each strip overlaps the previous one by at least 2 inches. This overlap is crucial for creating a watertight barrier.
Securing the Material
Nail the edges of the asphalt roll into place, maintaining a consistent distance between nails to ensure the material is securely attached to the roof surface.
Sealing Seams and Edges
Apply a generous amount of roofing cement along the seams and edges of the asphalt roll. This step is essential for sealing any potential entry points for water, providing an additional layer of protection.
Additional Protective Measures
Installing Flashing
Flashing is a critical component in preventing water from penetrating the roof at joints and transitions. Install flashing around chimneys, vents, and other protrusions, securing it in place and sealing with roofing cement.
Inspecting and Sealing
After installation, inspect the entire roof for any gaps, bubbles, or imperfections. Use roofing cement to seal any areas that may allow water ingress, ensuring a completely watertight surface.
Applying a Protective Coating
Consider applying a reflective coating to the asphalt roll roofing. This coating can extend the life of the roof by protecting against UV rays and improving the building’s energy efficiency.
Compliance with Building Codes
Ensure that the installation of asphalt roll roofing complies with local building codes and regulations. This includes adhering to standards for underlayment, fastening, and slope requirements.
Conclusion
Asphalt roll roofing installation is a straightforward yet meticulous process that requires attention to detail and adherence to best practices. By following the steps outlined in this guide, homeowners and professionals can ensure a durable and effective roofing solution. Resolve Roofing in Columbia, MO, stands ready to assist with expert advice and services, ensuring your roofing project is completed to the highest standards.